Last Updated on January 13, 2026
Extracting audio from a video without losing quality sounds simple, but many people end up with poor sound quality without realizing why. This usually happens when the wrong tool or format is used, or when the audio is converted more than once.
People extract audio from video for many reasons. Some want to save an interview as an audio file. Others want music from a video, voice notes from a recording, or clean audio for editing and sharing.
The good news is this. You can extract audio without losing quality if you follow the right method from the start.
The key is not the tool alone. It is the combination of source quality, format choice, and how many times the audio is converted. Once you understand this, audio extraction becomes straightforward and reliable.
What This Guide Will Cover Next
By the end, you’ll know exactly how to extract clean, high-quality audio from any video.
Quick Answer: How to Extract Audio Without Losing Quality
If you want to extract audio from a video without losing quality, follow these steps:
- Start with the highest-quality version of the video
- Extract the audio only once
- Choose the right audio format based on your purpose
- Avoid converting the audio again after extraction
- Use tools that support lossless or high-bitrate output
Best practice in one line
If you extract audio once into WAV for editing or MP3 at 320 kbps for listening, you will not lose noticeable quality.
Examples of tools that work well:
Audacity, VLC Media Player, FFmpeg, CapCut Online, and professional editors like Adobe Premiere Pro or DaVinci Resolve.
Quick format guidance
- WAV: Best for editing, mixing, or archiving
- MP3 (320 kbps): Best for listening, sharing, or storage
- FLAC: Lossless compression with smaller file size
This simple approach prevents almost all quality issues people face during audio extraction.
Why Audio Quality Gets Lost During Extraction
Most audio quality problems do not come from the video itself. They happen during the extraction process. In many cases, people are doing more work than necessary without realizing it.
Here are the main reasons audio quality gets reduced and how to avoid each one.
1. The audio is re-encoded multiple times
Every time audio is converted from one format to another, some data is lost. This is especially true with compressed formats like MP3. Extracting audio to MP3 and then converting it again later slowly degrades the sound.
What to do instead:
Decide your final format first and extract the audio only once. If you plan to edit the audio later, extract directly to WAV.
2. The wrong audio format is chosen
Some formats are designed to preserve quality. Others are designed to save space. When a space-saving format is used too early, quality loss is unavoidable.
For example:
- MP3 reduces file size by removing audio details
- WAV keeps all audio data intact
What to do instead:
Use WAV or FLAC if you need clean audio for editing. Use high-bitrate MP3 only when you are sure no further editing is needed.
3. The original video already has compressed audio
Extraction does not improve audio. It only separates it from the video. If the source video already has low-quality or heavily compressed sound, the extracted audio will sound the same.
What to do instead:
Always start with the best version of the video available. Higher-resolution videos usually include better audio encoding than low-resolution versions.
4. Audio levels are ignored during extraction
Some videos have very quiet audio or uneven volume levels. When extracted without checking, the audio may sound weak or distorted.
What to do instead:
Preview the audio before exporting when possible. If needed, normalize the audio after extraction to bring it to a balanced listening level.
Which Audio Format Should You Use?
Choosing the right audio format is one of the most important parts of extracting audio from video without losing quality. Many people focus only on the tool, but the format you choose often matters more than the software itself.
The right format depends on what you plan to do with the audio after extraction.
WAV – Best for Editing and Long-Term Use
WAV files store audio without compression. This means no sound data is removed during extraction. The result is clean, accurate audio that can be edited, mixed, or processed without quality loss.
- Keeps all original audio details
- Ideal for editing, mastering, or archiving
- Large file size compared to other formats
Use WAV if:
You plan to edit the audio, clean it up, mix it with other tracks, or want the best possible quality.
MP3 – Best for Listening and Sharing
MP3 compresses audio to reduce file size. When exported at a high bitrate, the quality is still very good for everyday listening.
- Much smaller file size
- Easy to share and store
- Quality depends on the bitrate
Recommended bitrate:
- 192 kbps minimum for decent quality
- 256 kbps for better balance
- 320 kbps for near-original sound
Use MP3 if:
You only need the audio for listening, sharing, or uploading, and you do not plan to edit it further.
FLAC – Lossless with Smaller File Size
FLAC compresses audio without removing any data. It offers the same quality as WAV but with reduced file size.
- Lossless audio
- Smaller than WAV
- Not supported everywhere
Use FLAC if:
You want high-quality audio but need to save storage space, and know the device or software supports FLAC.
AAC, M4A, and OGG – Efficient Alternatives
These formats are designed to deliver good sound quality at lower file sizes.
- AAC and M4A are commonly used on Apple devices
- OGG is open-source and widely supported on modern platforms
Use these formats if:
You want efficient compression and compatibility with specific devices or platforms.
Quick format comparison
| Purpose | Recommended Format | Reason |
|---|---|---|
| Audio editing | WAV | No quality loss |
| High-quality listening | MP3 (320 kbps) | Small size, good sound |
| Archiving | FLAC | Lossless, smaller than WAV |
| Mobile playback | AAC / M4A | Efficient and compatible |
Easy Online Tools for Extracting Audio from Video
Online tools are the fastest way to extract audio from video if you only need to do it occasionally. They work directly in your browser, so there is no software to install and no learning curve.
These tools are especially useful for short videos, quick edits, or when you are working on a shared or temporary device. Most of them follow a simple upload, extract, and download flow.
1.CapCut Online Audio Extractor
CapCut is widely known as a video editing tool, but its online audio extractor works well even if you only want the sound. It is designed for beginners, which makes the process feel smooth and guided from start to finish.
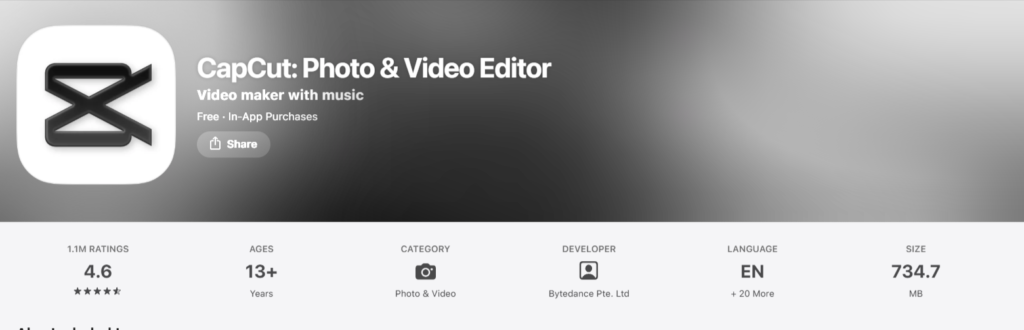
- Supports common formats like MP4, MOV, and AVI
- Lets you trim audio before downloading
- Offers basic noise reduction
- Output options include MP3 and WAV
Best for:
Quick audio extraction with light cleanup, especially for social content, voice clips, or short videos.
2. BeeCut Online Audio Extractor
BeeCut focuses on doing one thing well. Extracting audio quickly without distractions. The interface is minimal, which makes it easy to understand even if you are using it for the first time.
- Works with MP4, MOV, AVI, and WEBM
- Allows basic trimming
- Fast processing for small and medium files
Best for:
Users who want fast results without editing tools or extra steps.
3.Cleanvoice.ai
Cleanvoice.ai is built mainly for spoken audio, such as interviews, podcasts, and voice recordings. One reason people choose it is its privacy-focused approach, as files are processed locally in the browser.
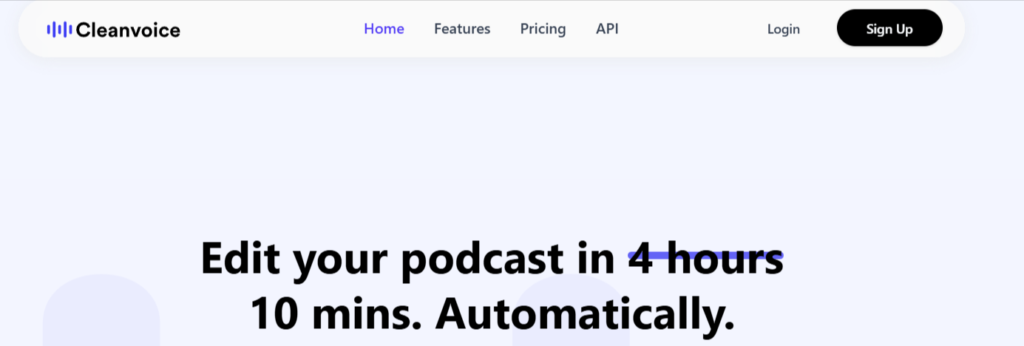
- No file storage on external servers
- Outputs WAV or MP3
- Simple and focused interface
Best for:
Extracting voice audio where privacy and clarity matter more than advanced features.
4. Restream Audio Extractor
Restream’s audio extractor is designed for simplicity. There are no advanced settings, which makes it a good choice when you just want the audio file and nothing else.
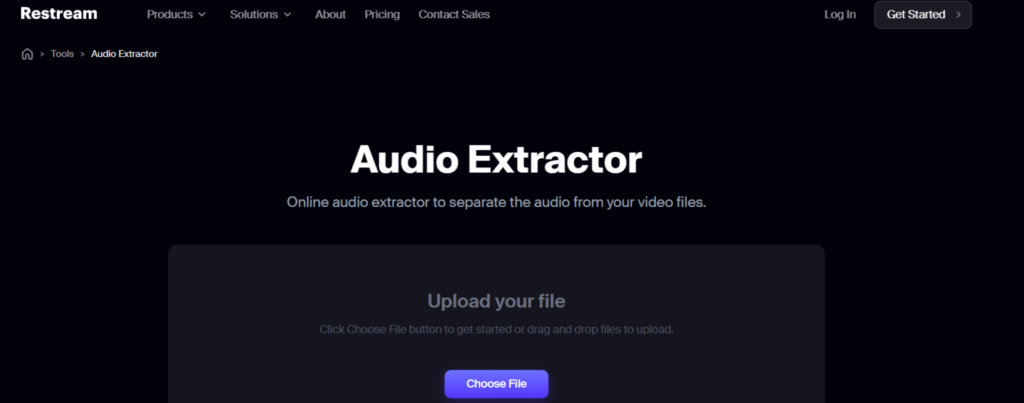
- Straightforward upload and download process
- Supports standard video formats
- No editing or configuration required
Best for:
One-time audio extraction when speed and simplicity are the priority.
Limitations of online tools
Even though online tools are convenient, they come with a few limits:
- File size restrictions, usually around 500 MB
- Limited control over bitrate and export settings
- Not suitable for extracting audio from many videos at once
- Slower performance with long or high-resolution videos
Important note:
Online tools do not enhance audio quality. They only extract the audio exactly as it exists in the video.
When to use an online tool
Online extractors work best when:
- You have one or two short videos
- You need audio quickly
- You do not plan to edit the audio later
- You want a simple, no-install solution
Desktop Software for Audio Extraction -Better Control and Higher Quality
Desktop tools are a better choice when you need more control over the audio extraction process. They allow you to choose formats, adjust quality settings, and handle longer or multiple videos without file size limits.
These tools are ideal for creators, editors, and anyone who extracts audio regularly.
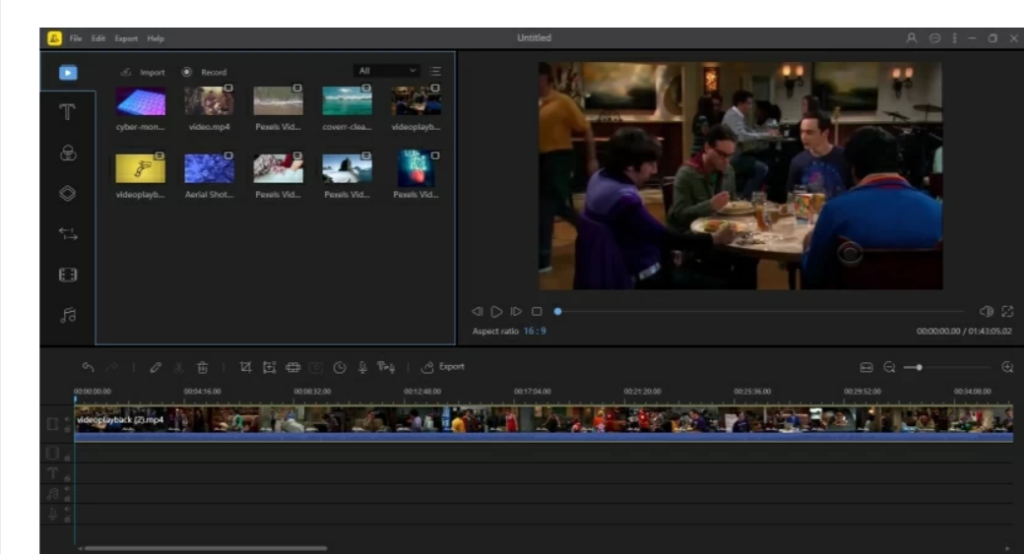
1. Audacity (Free and Open Source)
Audacity is one of the most reliable tools for audio extraction and editing. It is widely used by podcasters, educators, and video editors because it gives full visibility into the audio through waveforms.
You can open a video file directly in Audacity once FFmpeg support is enabled. The audio appears as a track that you can trim, clean, or adjust before exporting.
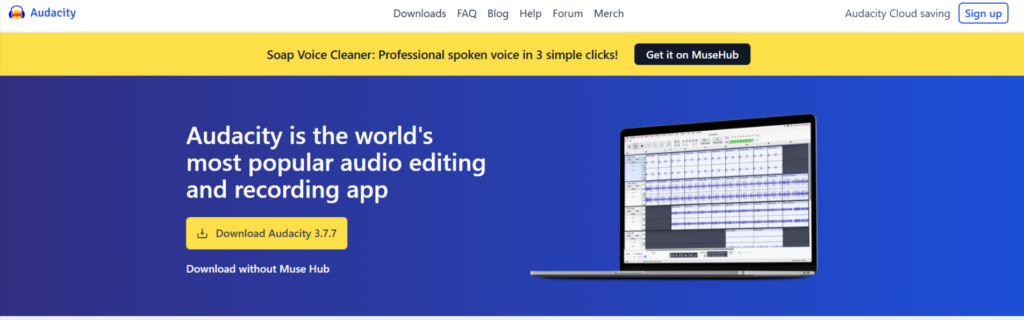
- Works on Windows, macOS, and Linux
- Supports WAV, MP3, FLAC, and more
- Allows trimming, noise reduction, and volume control
- Full control over export quality
Best for:
Users who want clean extraction with editing options, without paying for software.
2. VLC Media Player (Free)
VLC is known mainly as a media player, but it also includes a built-in conversion feature. Many people already have VLC installed, which makes it a convenient option for quick audio extraction.
The process is simple. Add the video file, select an audio profile, and convert.
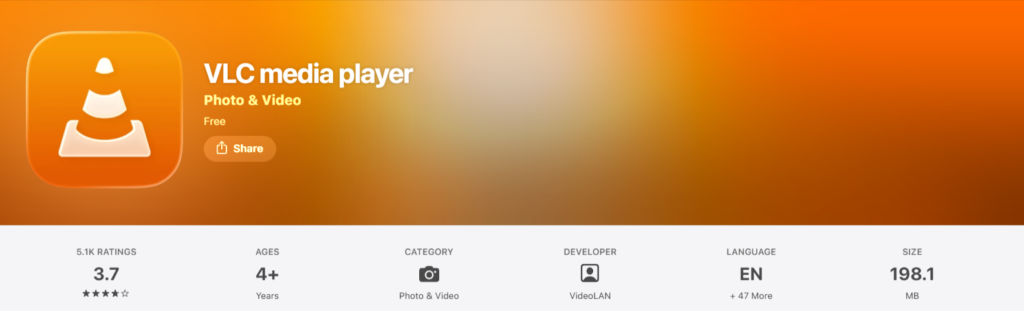
- Already installed on many computers
- Supports most video and audio formats
- Fast and lightweight
Limitations:
- Limited control over bitrate and audio settings
- No editing features
Best for: Quick audio extraction when you want something simple and already available.
3. FFmpeg (Advanced and Powerful)
FFmpeg is a command-line tool used by professionals for video and audio processing. It offers precise control over extraction and supports nearly every format.
Once set up, FFmpeg is extremely fast and efficient, especially for batch processing large numbers of videos.
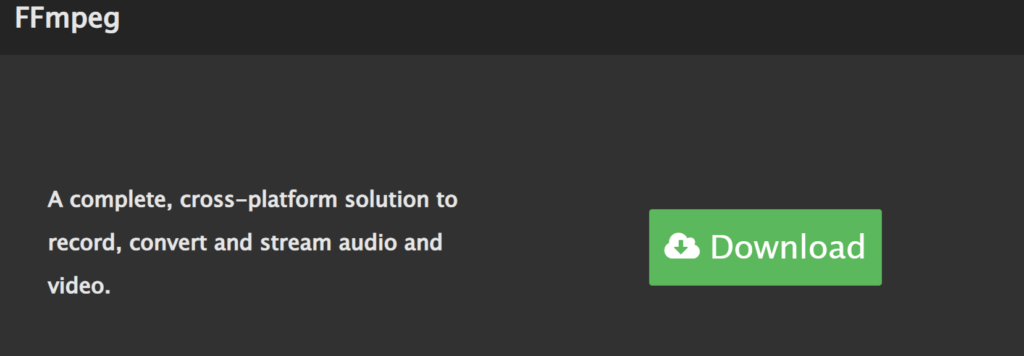
- Works on Windows, macOS, and Linux
- Supports lossless and compressed formats
- Ideal for bulk extraction and automation
- Actively maintained and regularly updated
Best for:
Advanced users who need speed, control, and batch processing.
4. Paid Desktop Tools (Movavi and Similar)
Paid tools like Movavi Video Converter sit between beginner-friendly and professional-level software. They offer a graphical interface with advanced features without requiring technical knowledge.
These tools usually support hardware acceleration, which speeds up extraction on modern systems.

- Easy drag-and-drop interface
- Batch processing support
- Multiple output formats and presets
Best for:
Users who want a polished experience with minimal learning time.
When desktop tools make sense
Desktop software is the better option if:
- You extract audio regularly
- Your video files are large or long
- You need editing or batch processing
- You want consistent quality control
Using Professional Video Editors to Export Audio
If you already edit videos using professional software, you usually do not need a separate tool to extract audio. Most video editors allow you to export the audio track directly with full quality control.
This method is often the cleanest option because it works with the original project files and avoids unnecessary conversions.
1. Adobe Premiere Pro
Adobe Premiere Pro is widely used in professional video production, and audio export is a built-in part of its workflow. Instead of separating audio later, editors can export it directly from the timeline using precise settings.
Because Premiere works with original project files, the extracted audio maintains its original clarity and structure. You can export only the audio track without touching the video, which avoids unnecessary compression.

- Export audio separately in WAV or MP3
- Control bitrate, sample rate, and channels
- Ideal for multi-track audio projects
Best for:
Editors already working on structured video projects who want clean, production-ready audio output.
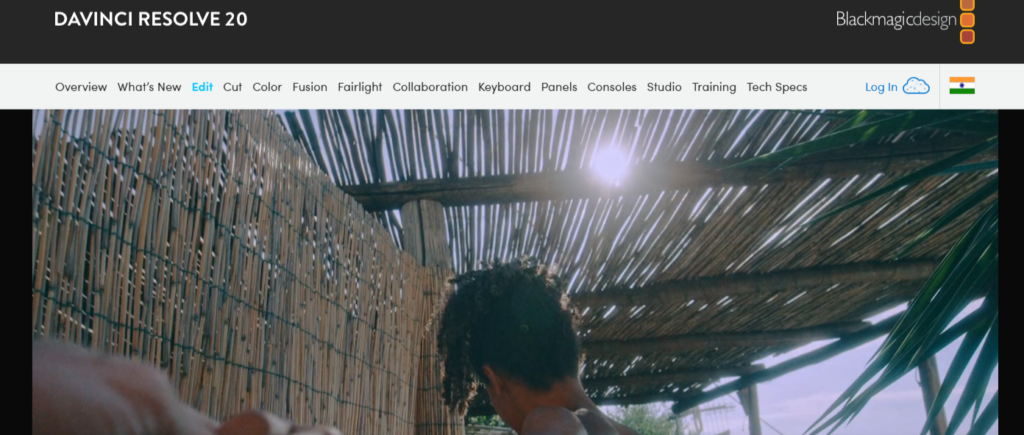
2. DaVinci Resolve
DaVinci Resolve is known for color grading, but it also includes strong audio tools through its Fairlight audio engine. This makes it a reliable option for exporting high-quality audio directly from video timelines.
Even the free version allows you to isolate and export audio tracks with professional-level quality. This makes Resolve a strong choice for creators who want quality control without paying for software.
- Supports high-quality audio formats
- Handles complex timelines smoothly
- Suitable for both beginners and professionals
Best for:
Creators who want professional audio output without investing in paid software.
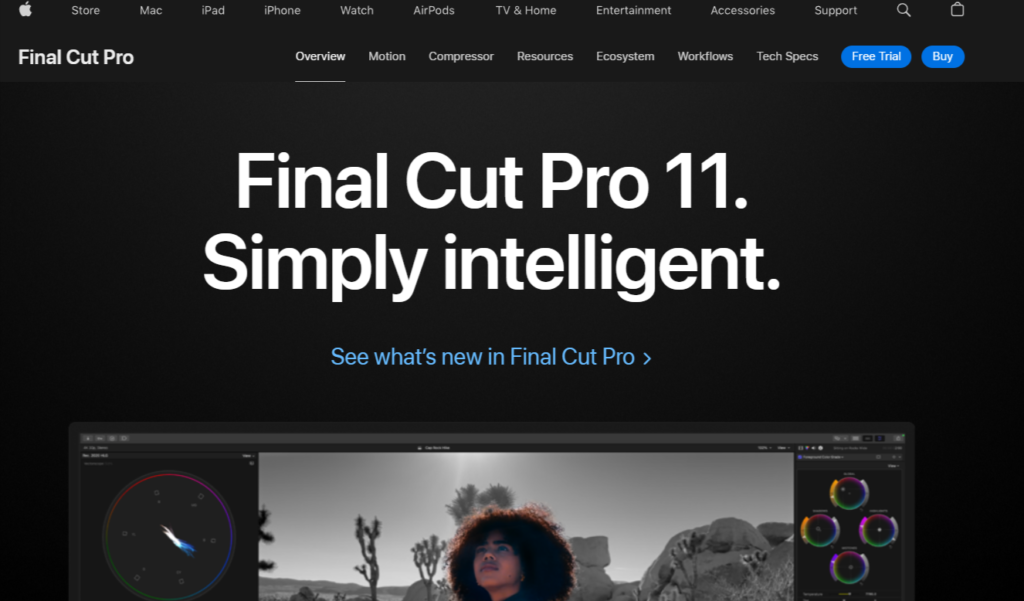
3. Final Cut Pro
Final Cut Pro is designed specifically for macOS and integrates tightly with Apple’s audio and media framework. This allows smooth playback and accurate audio handling during export.
When exporting audio from Final Cut Pro, users can retain full quality while choosing formats that work well across Apple devices. The process is straightforward once the timeline is ready.
- Optimized for macOS performance
- Clean audio-only export options
- Reliable output consistency
Best for:
Mac users working on long-term or professional video projects.
Why exporting audio from editors works well
Professional video editors treat audio as a core part of the project, not an afterthought. This means:
- No forced re-encoding
- Full control over output format and quality
- Better handling of multi-track audio
- Consistent results across exports
If you already edit videos, this method often produces the most predictable and clean audio files.
How to Preserve Audio Quality During Extraction
Once you understand formats and tools, preserving audio quality becomes a simple process. The goal here is not to learn new concepts, but to apply them correctly every time.
Use this checklist as a final pass before exporting your audio.
- Use the highest-quality video available
Always extract audio from the best version of the video you have. Lower-quality copies often contain more compressed audio, which cannot be fixed after extraction.
- Match the format to the next step
Before you export, decide what happens next.
- Editing or cleanup → export to WAV
- Listening or sharing → export to high-bitrate MP3
This avoids unnecessary conversions later.
- Export once and keep the original file
Extract the audio only once and save the original video. If you need changes later, return to the source instead of re-converting the audio file.
- Adjust volume after extraction, not before
If the audio sounds quiet, normalize it after extraction using an audio editor. Avoid pushing volume during export, as it can introduce distortion.
- Apply noise cleanup only when needed
Noise reduction helps with background hum or room noise, but overuse reduces clarity. Apply it lightly and stop once the voices sound natural.
- Keep a clean master copy
If the audio matters long-term, save one lossless version. This gives you flexibility to convert or edit later without quality loss.
Extracting Audio from Multiple Videos at Once (Batch Processing)
If you need to extract audio from more than a few videos, doing it one file at a time quickly becomes inefficient. Batch processing allows you to extract audio from many videos in one go, saving time and ensuring consistent results.
This approach is especially useful for creators, editors, educators, and anyone working with large video libraries.
When batch extraction makes sense
Batch processing is the better option if:
- You have many videos recorded in the same format
- You want a consistent audio output across all files
- You regularly extract audio as part of your workflow
- You want to avoid repeating the same steps manually
Batch extraction using VLC Media Player
VLC allows you to add multiple files at once and convert them sequentially.
How it works at a high level:
- Add multiple video files together
- Choose an audio format once
- Select an output folder
- Let VLC process each file automatically
Best for:
Users who want a simple batch option without installing new software.
Batch extraction using FFmpeg
FFmpeg is one of the most efficient tools for bulk audio extraction. Once configured, it can process dozens or even hundreds of videos with minimal effort.
Why FFmpeg works well for batch tasks:
- Extremely fast processing
- Supports all major audio formats
- Ideal for automation and scripting
- Handles large files without stability issues
Best for:
Advanced users or teams dealing with large video collections.
Batch extraction using paid tools
Some paid desktop tools provide built-in batch features with a graphical interface. You load all videos, choose the output format once, and start the process.
These tools often support hardware acceleration, which speeds up large jobs on modern systems.
Best for:
Users who want batch processing without technical setup.
Batch vs manual extraction comparison
| Method | Speed | Consistency | Setup Effort |
|---|---|---|---|
| Manual extraction | Slow | Inconsistent | Low |
| Batch extraction | Fast | Consistent | Medium |
Conclusion
Extracting audio from a video without losing quality is simpler than it first appears. Most problems happen not because of the tools used, but because of rushed decisions during extraction.
When you start with a good-quality video, choose the right audio format, and extract the audio only once, the result stays clean and usable. Whether you use an online tool for a quick task, desktop software for better control, or a professional editor for project-based work, the same principles apply.
There is no single “best” tool for everyone. The right choice depends on how often you extract audio and what you plan to do with it afterward. Keeping your workflow simple and intentional matters more than using advanced features.
If you follow the approach outlined in this guide, you can confidently extract high-quality audio from any video without trial and error. The process becomes repeatable, reliable, and easy to manage over time.


Leave a Reply